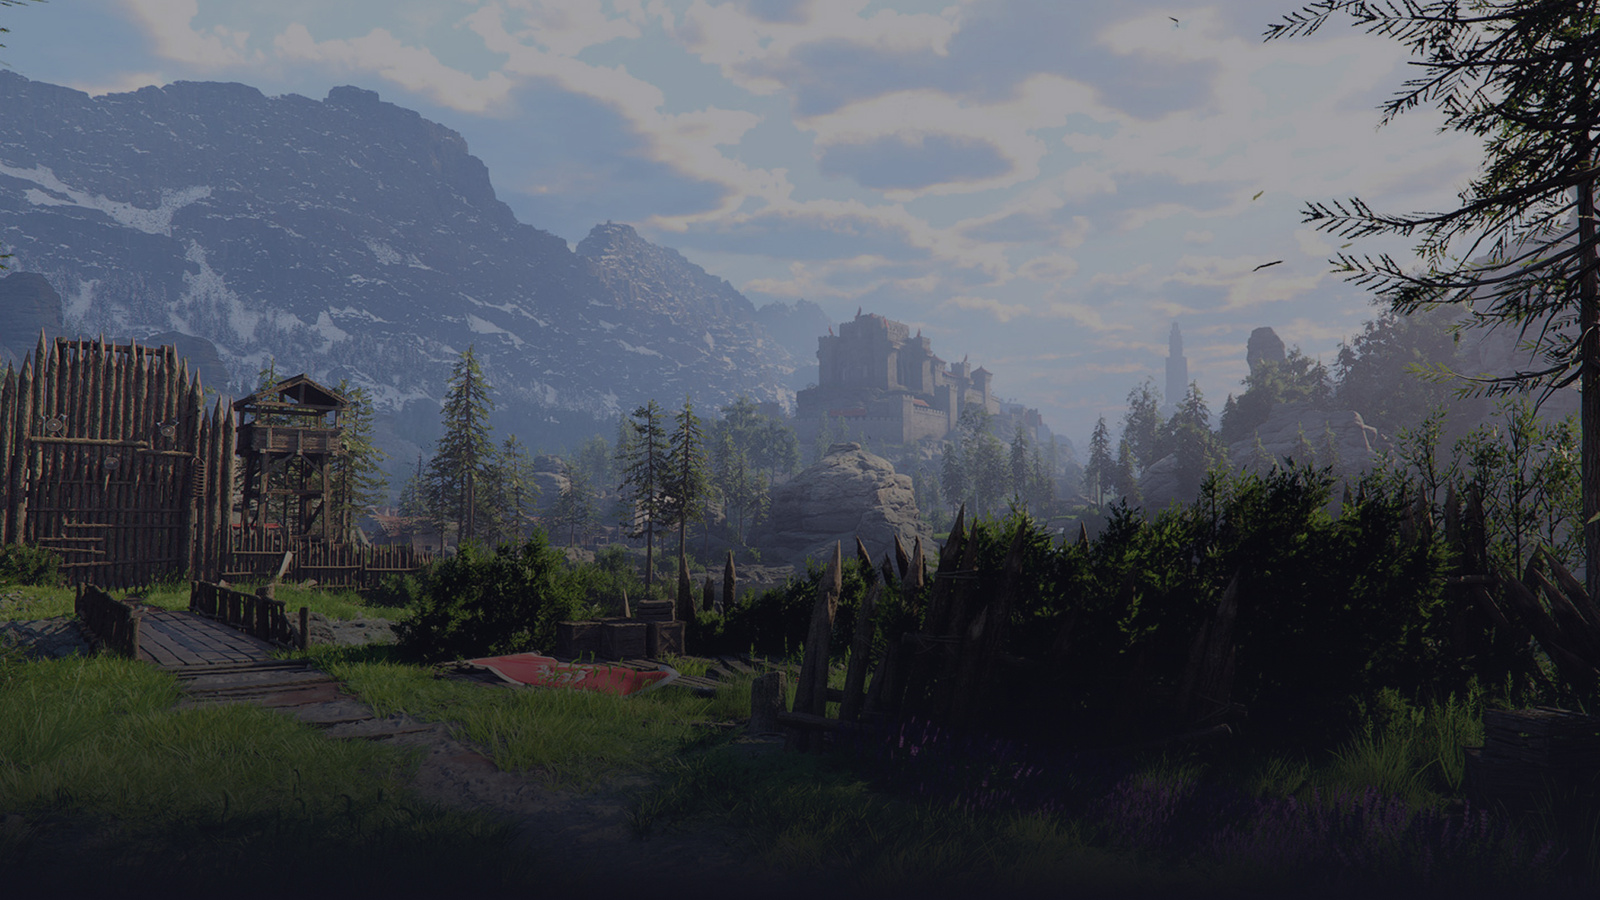
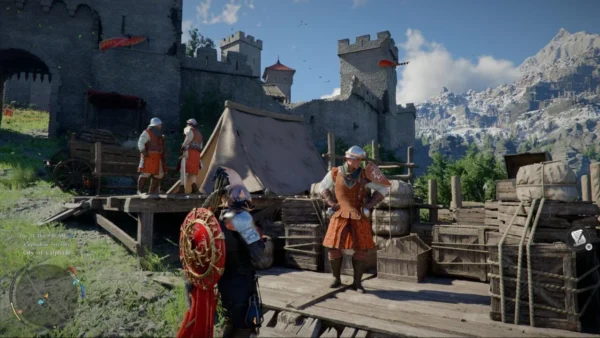
In Crimson Desert, once you’ve recruited enough Greymanes, the game introduces a complex base-management mechanic: Mission Dispatches. While the game’s tutorial is notoriously vague, expanding your camp is vital for unlocking better gear, merchants, and reputation.
Here is exactly how to dispatch your soldiers and turn Howling Hill into a bustling fortress.
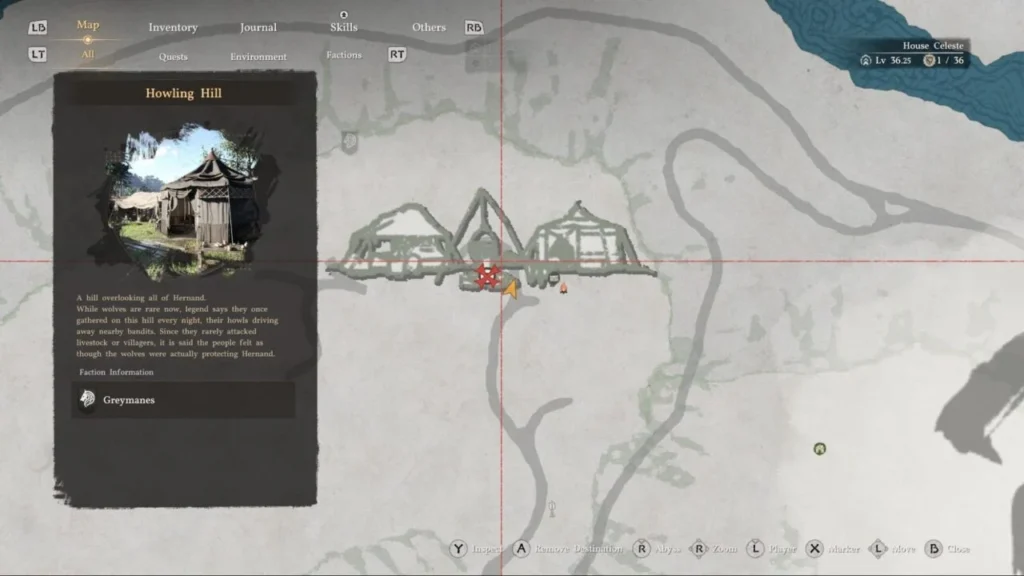
Step 1: Initiating the Howling Hill Expansion
Before you start, ensure you are physically standing within the Howling Hill camp. You will know you’re in the right spot if you see the Resource List in the top-right corner of your HUD.
- Open your Map and ensure it is on the “All Icons” tab.
- Hover over the Camp Icon and press Y (Xbox) / Triangle (PlayStation). This opens a specialized management view.
- Navigate to the Mission List: Use RB / R1 to tab over.
- Select the Mission: Choose “Howling Hill Camp Expansion.”
- Assign Freeswords: Select Luke and Ronald and press X / Square to dispatch them.
💡 Time-Skip Tip: This mission takes 17 in-game hours. You can sleep in the bed inside the main tent to skip up to 12 hours, but you will still need to complete a few sidequests to pass the remaining time.
Once the 17 hours pass, return to the same map menu to confirm the expansion. You’ll see new tents and carts appear instantly.
Step 2: Managing Freeswords with Ross
After your first expansion, an NPC named Ross (marked by a Helmet icon) will arrive. Ross is your primary contact for managing your Freeswords (mercenary units).
- Reputation & Resistance: Dispatching freeswords through Ross builds your reputation with local factions and weakens the opposition at nearby enemy encampments.
- Unlocking More Units: Complete more Greymane faction story quests to unlock additional freeswords, allowing you to run multiple missions simultaneously.
Step 3: Funding and Resources with Carl
Missions aren’t free. You’ll need to manage your treasury and supplies through Carl (marked by a Treasure Chest icon).
- Donating Funds: Talk to Carl and select Manage Supplies → Support Camp Resources. Press Y / Triangle to donate Bronze coins.
- Item Donations: Some high-tier missions require specific food or materials. You can donate these from your inventory on the same screen.
Pro-Tip: Mission Chaining for Maximum Profit
To avoid running out of Bronze or Food, you should “chain” your missions based on their rewards. Analyze the costs and payouts to create a loop:
| Mission Example | Resource Cost | Reward | Strategy |
| Capra Pasture | 1,000 Bronze | 1,000 Food | Use this to stock up on supplies. |
| Oakenshield Manor | 120 Food | 1,900 Bronze | Use the food from Capra to earn a massive Bronze profit. |
By running Capra Pasture first, you effectively turn 1,000 Bronze into 1,900 Bronze, while keeping your camp well-fed. Always read the descriptions to ensure you have the required materials before hitting “Dispatch.”


Comments (0)
Sign In / Sign Up
Sign in to leave a comment.
No comments yet
Be the first one to share your thoughts!